Manage Constraints
Constraints are used to ensure the accuracy and the reliability of the data in the database. If you enable constraint validation during delivery, i-refactory can prevent non-compliant data from being further processed. The constraints are defined in the Logical Validation Model. After a metadata import, you can configure the constraints settings that specify how the i-refactory engine should deal with constraint violations.
You can influence validation behaviour on two levels:
- Per logical validation interface (default option)
- Per Delivery Agreement (specific for Tenant/Interface combination): If any constraint settings exist at the Delivery Agreement level, they take precedence over the settings at the model level.
Per model
Constraints settings can be configured for each model separately.
- Click on
Menu > Management > Constraint Settings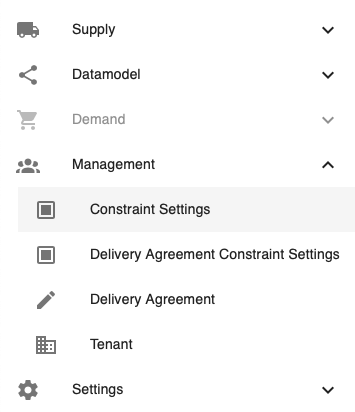
Menu constraint settings - Click on an interface to expand the constraint settings
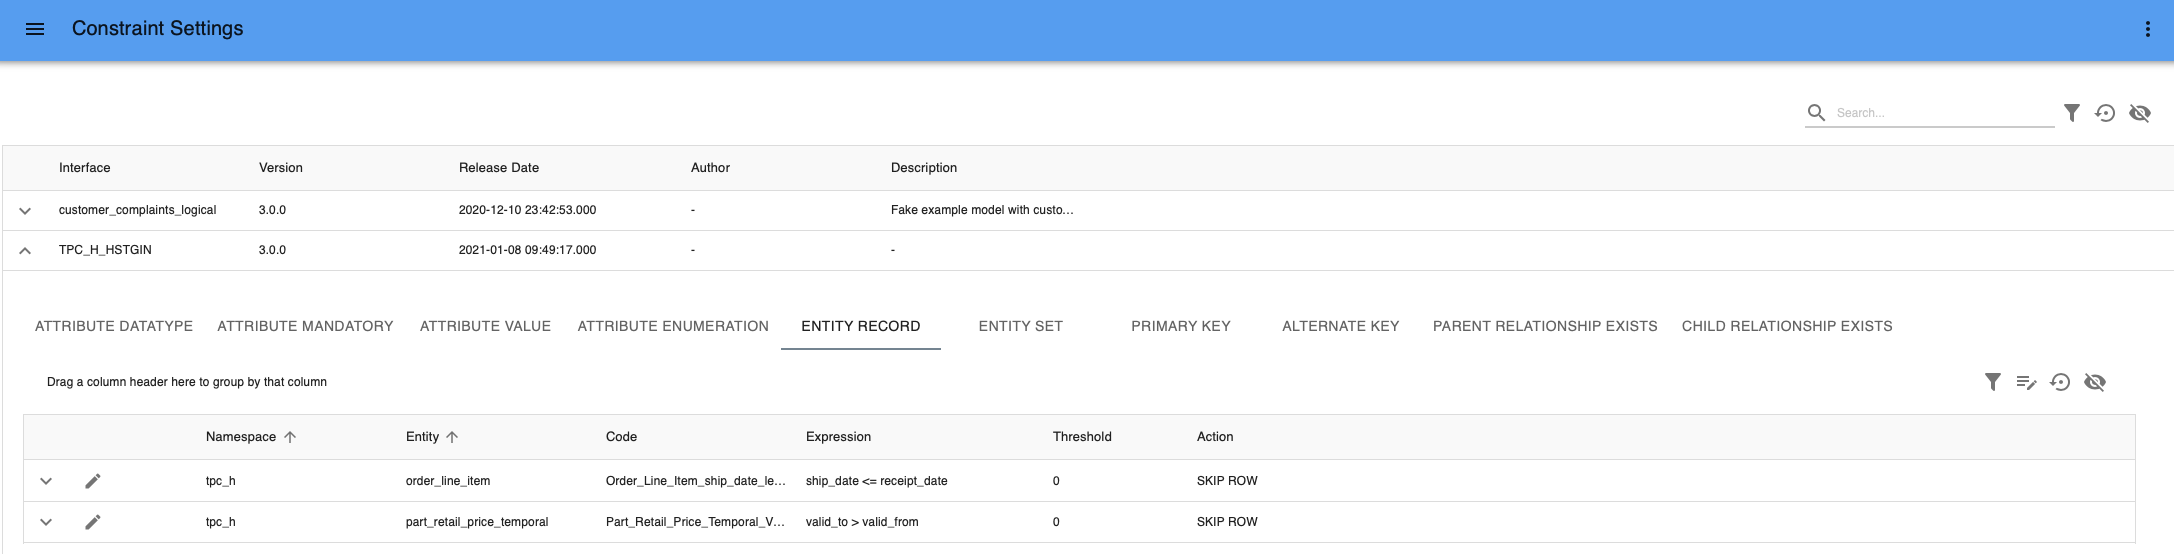
manage constraints settings
Manage tresholds
You can configure tresholds per constraint. Tresholds define the maximum number of errors i-refactory accepts, before a delivery is refused. If you want a signaling constraint, then you need to set the threshold to a high number. The records of a Refused delivery will not be stored in the Logical Validation Layer (LVL) or Central Facts Layer (CFL).
{info} By default, no tresholds are set: any validation error results in a rejection of the delivery - assuming you execute the Validation Process where at least the Default or Mandatory option is selected.
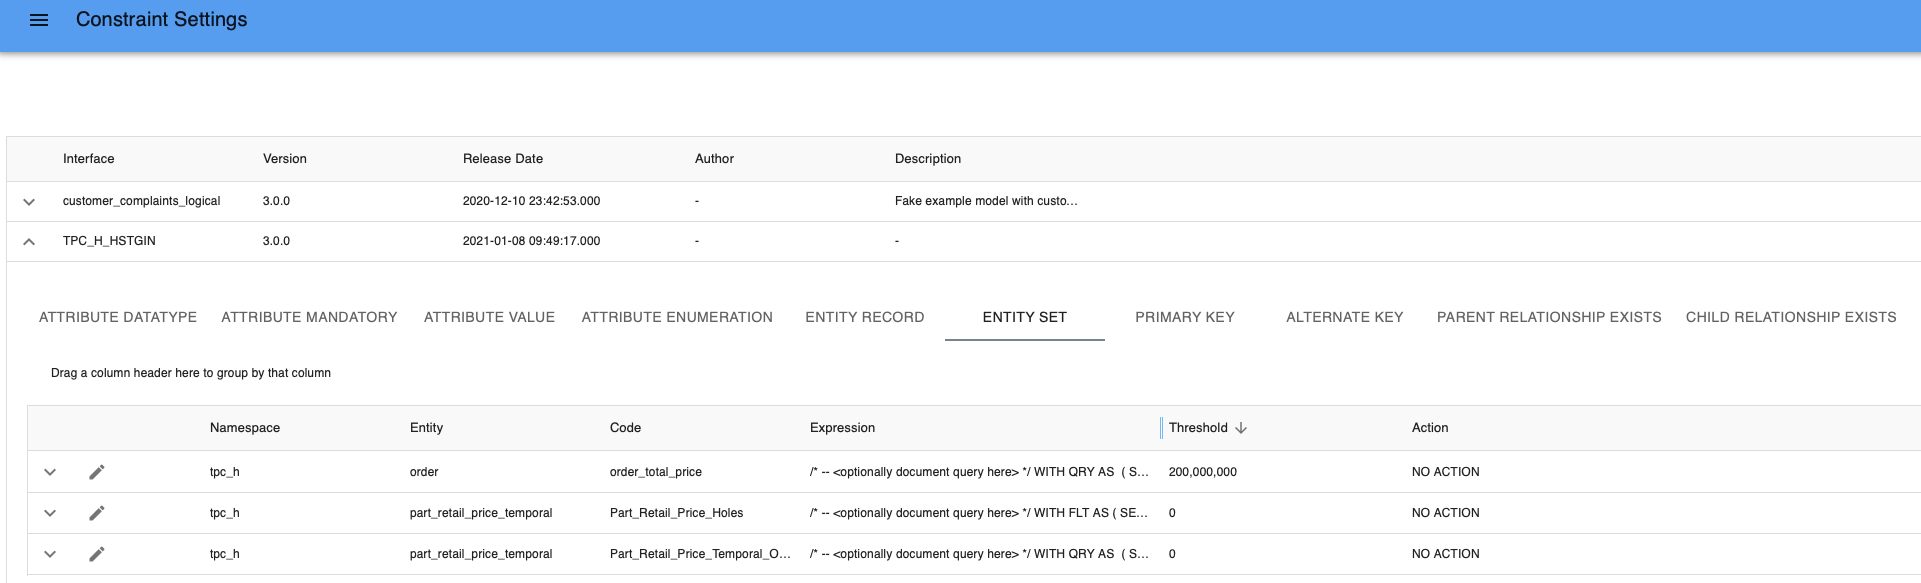
Manage actions
If the validation errors do not exceed a threshold value, these errors can be mitigated by an assigned action. Dependent on the type of constraint, a different set of options is available to chose from.
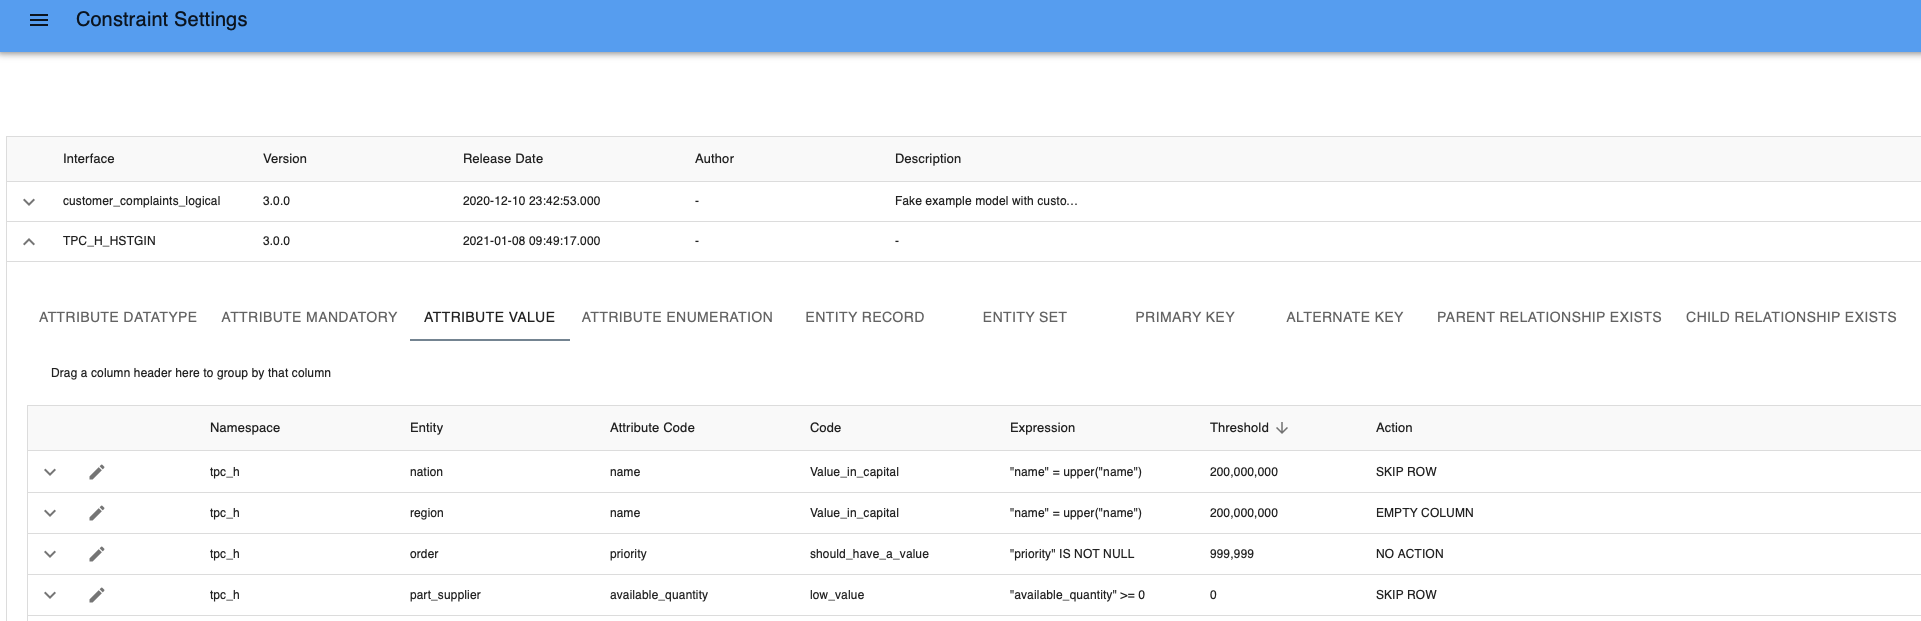
- Empty column: this will empty the values in the column. For example if a datatype validation error arises in a record, the violated datatype value will be deleted but the rest of the record will be processed and stored in the LVL and CFL.
- Skip row: this will skip the violated record. The skipped records will not be processed or stored in the LVL and CFL.
- No action: the violated records will be processed and stored in the LVL and CFL
{warning} Selection of the action Skip Row could have a cascading effect if other entities or rules depend on the row you just skipped.
Download and import constraint settings
For each of the models you have the ability to export the constraint settings and import them into another environment. This will ensure synchronization of the constraint settings between the environments. The settings are exported in a JSON format.
To export:
- Click on the
Downloadicon next to the interface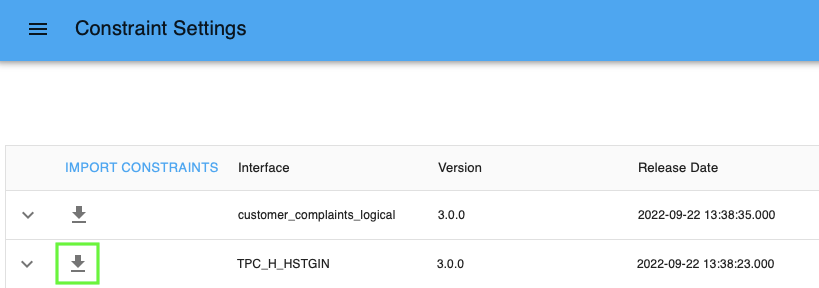
Download constraint setting of TPC-H - A JSON file will be downloaded with the layer, interface name, and version number.

Example constraint settings file
To import:
- Click on
Import constraints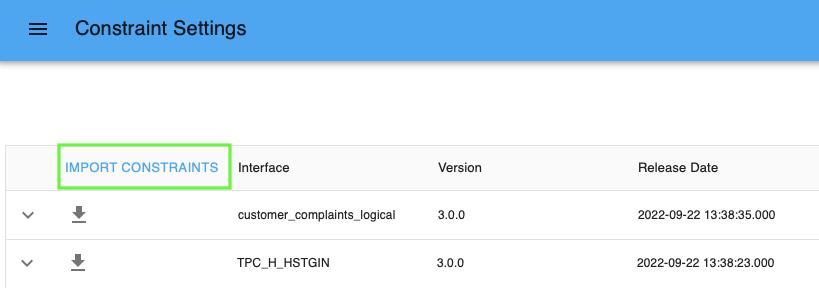
Import constraints - Click on
Add fileand browse for one or more files and then start the import.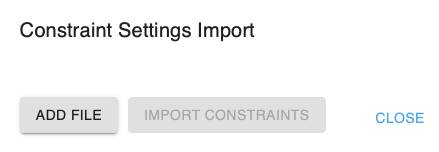
Add file - It will take up to several minutes to import the constraints. Although you can import several files simultaneously, they are processed one at a time.
The import is successful if:
- The file is a valid JSON file.
- The file adheres to the export format. If the file does not conform to this format the import will fail. The Web App will render a list of encountered errors.
- The Logical Validation Model exists and the version of the model (interface) in the database is the same as the version specified in the file.
- No active delivery exists for the given Logical Validation Model for which the constraint validation has not yet completed.
- The values of the
thresholdAbsoluteare specified as integers and the values ofconstraintViolationActionCodeare specified as string. - The constraint exists in the database.
{info} The values for
thresholdAbsoluteandconstraintViolationActionCodeare always updated with the values from the import file, regardless the fact that someone has made changes to these settings manually. In other words, we do not check on lost updates.
Delivery Agreement constraints
Constraints settings can be configured specific for a delivery agreement. For example, if the threshold setting for a constraint delivered by Tenant A is different than for Tenant B. These settings will overrule the constraints settings at the interface level.
- Click on
Menu > Management > Delivery Agreement Constraint Settings
menu delivery agreement constraint settings - Expand the delivery agreement
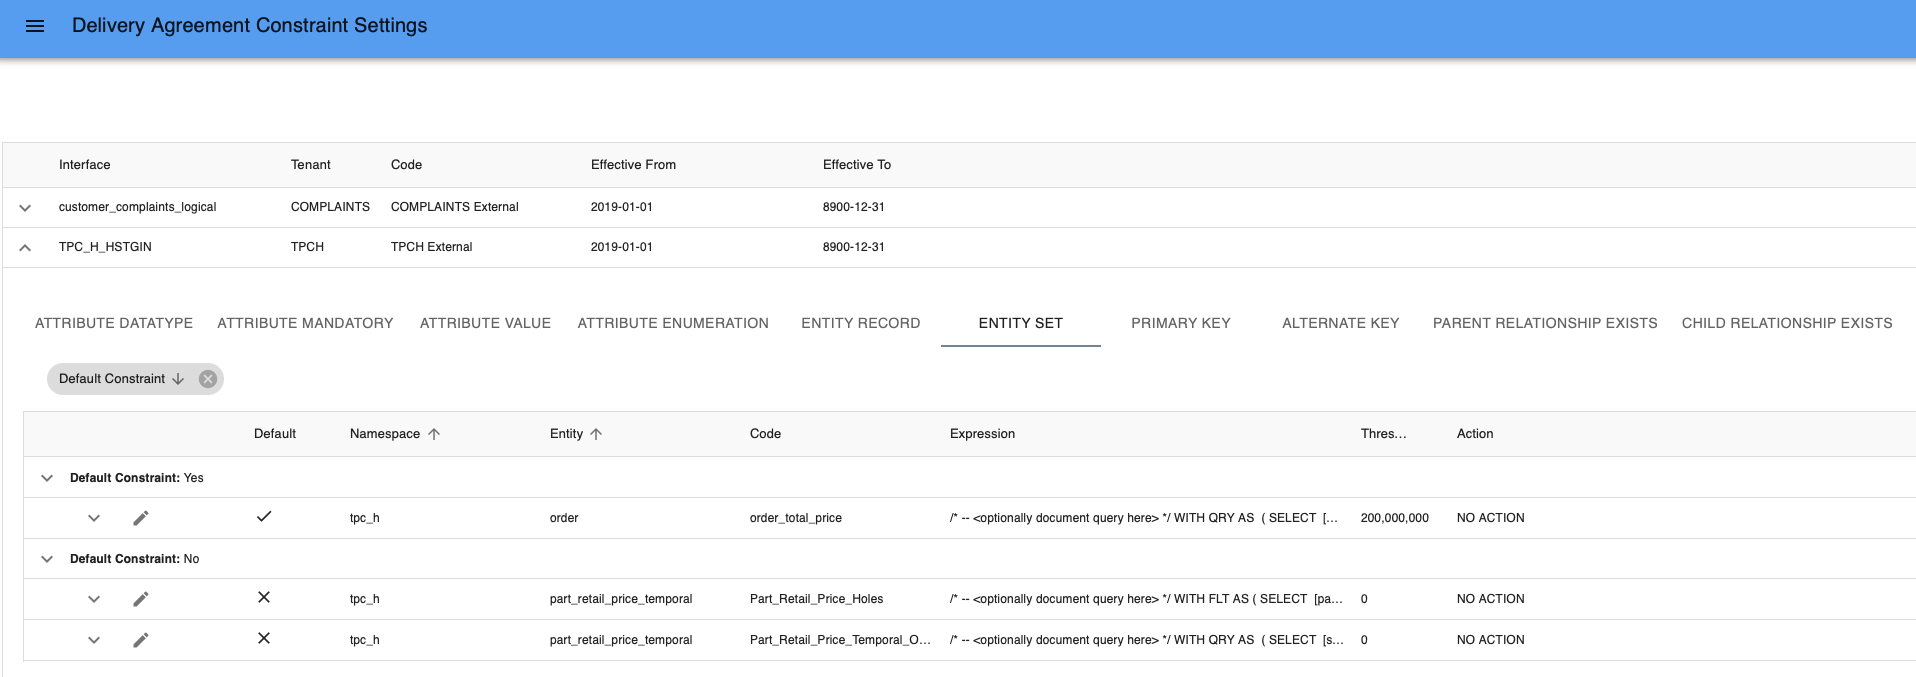
default settings - Select the constraint you want to modify. Click on the
pencilicon and put a checkmark in thedefaultbox. Configure thethresholdand/oraction. - The adjusted Delivery Agreement Constraints is grouped under
Default Constraint: Yes
To revert the delivery agreement constraint
- Expand the delivery agreement.
default settings - Under the group
Default Constraint: Yes, select the constraint you want to modify. Click on thepencilicon and unselect the checkboxdefaultbox. The settings will revert back to the model constraint settings.
To enable delivery agreement constraints during delivery:
When you create a new delivery, select the option Default in the dropdown menu below Constraints To Validate. 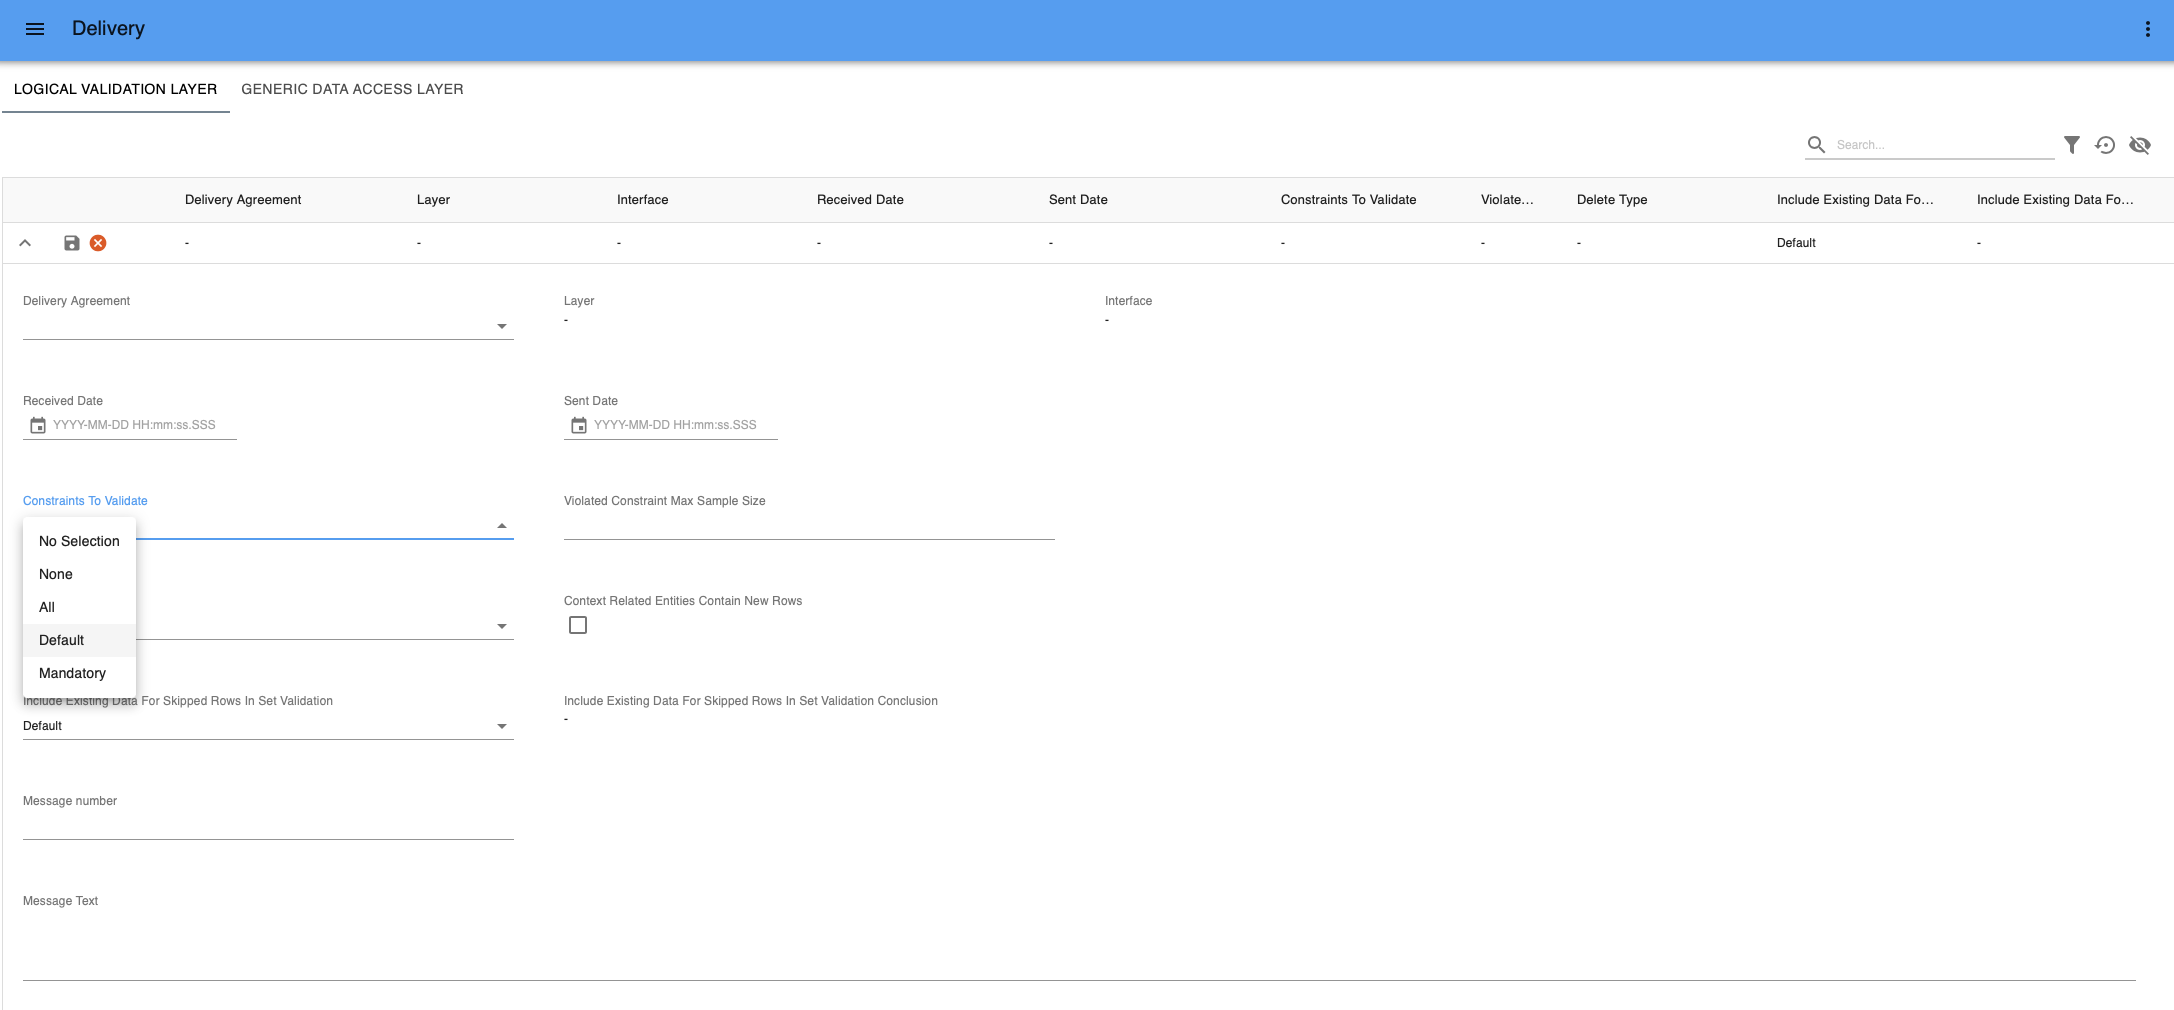
What's next?
- Create a delivery
- Check the overview